Hey there, funny people! Get ready to dive into a world of deliciousness with these fantastic shortbread cookie molds. We’ve rounded up some amazing finds that will make your taste buds dance and your imagination soar. So buckle up and get ready for a mouthwatering adventure!
1988 Vintage Brown Bag Cookie Art Mold Shortbread Wildflowers

Ingredients:
- 2 cups all-purpose flour
- 1/2 cup powdered sugar
- 1 cup unsalted butter, softened
Instructions:
- Preheat your oven to 350°F (175°C) and lightly grease your shortbread mold.
- In a large bowl, cream together the butter and powdered sugar until light and fluffy.
- Add the flour gradually and mix until well incorporated.
- Press the dough into the mold, making sure to fill all the detailed areas.
- Bake for 20-25 minutes or until the edges are lightly golden.
- Allow the cookies to cool in the mold for a few minutes before carefully removing them.
How to prepare:
Preparing these adorable shortbread wildflowers is as easy as falling off a log! Simply follow the instructions above and enjoy the process of molding the dough into beautiful, edible works of art. These cookies make a fantastic gift or a delightful treat for any occasion.
Preparation time: Approximately 40 minutes (includes baking and cooling time)
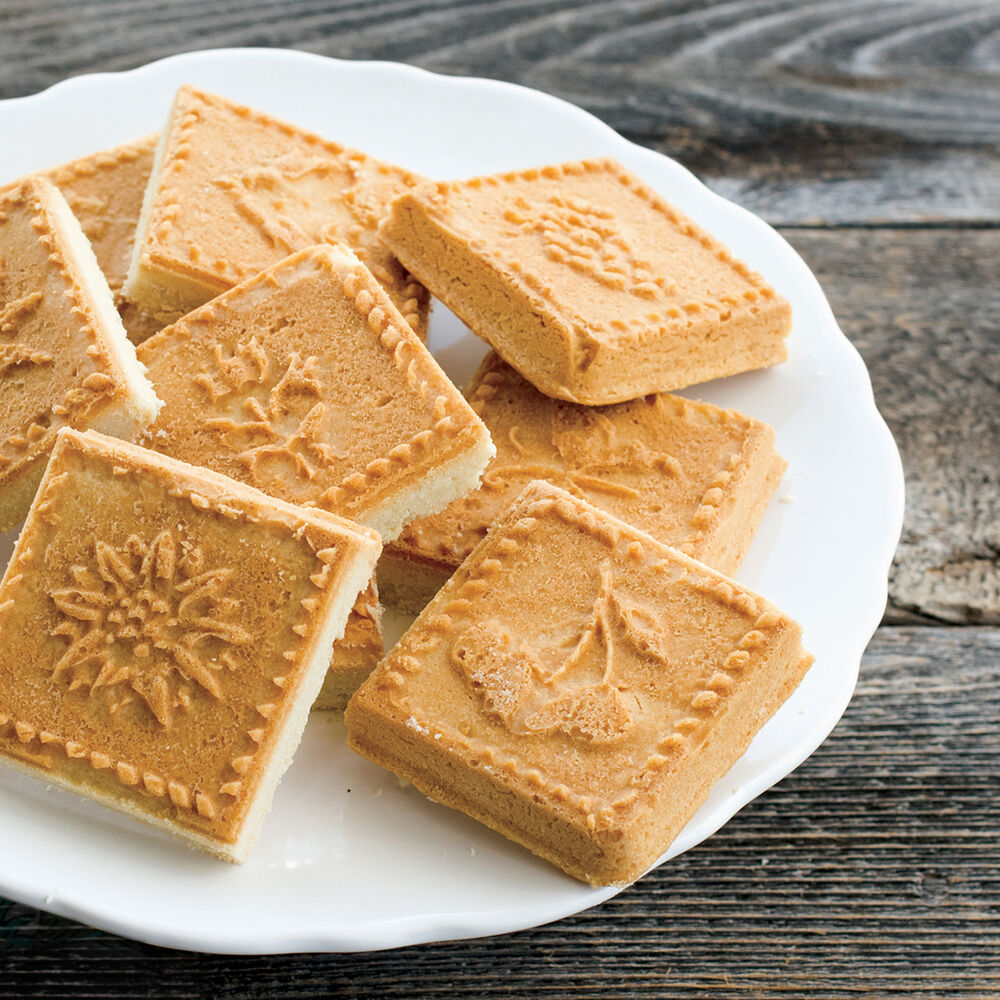
Nordic Ware Shortbread Mold
Ingredients:
- 2 1/2 cups all-purpose flour
- 1/2 cup granulated sugar
- 1 cup unsalted butter, softened
Instructions:
- Preheat your oven to 325°F (165°C) and lightly grease your shortbread mold.
- In a large bowl, cream together the butter and sugar until light and fluffy.
- Add the flour gradually and mix until the dough comes together.
- Gently press the dough into the mold, ensuring an even layer.
- Bake for 30-35 minutes or until the edges are golden brown.
- Allow the cookies to cool in the mold for a few minutes before gently removing them.
How to prepare:
Prepare to be amazed by the stunning design of these shortbread cookies! Follow the instructions above to create perfectly shaped treats that will impress anyone who lays eyes on them. These cookies are best enjoyed with a cup of tea or as an elegant addition to any dessert table.
Preparation time: Approximately 50 minutes (includes baking and cooling time)
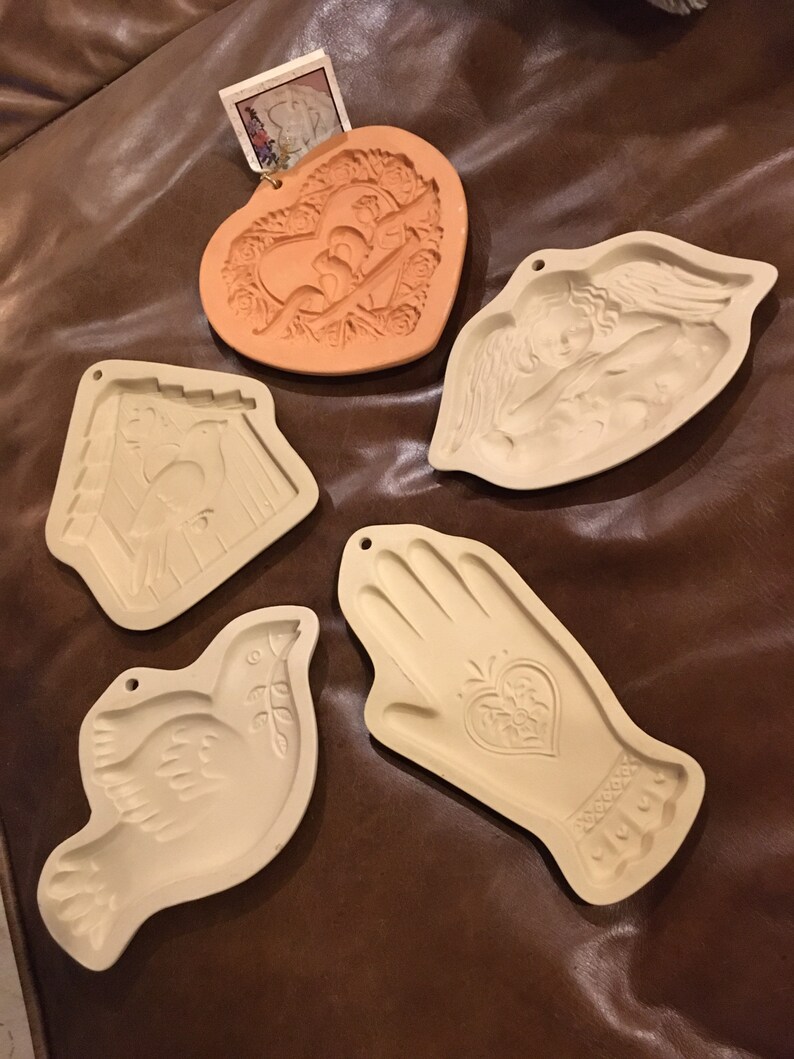
Retired Brown Bag Cookie Art Cookie Molds 1994-1998
Ingredients:
- 3 cups all-purpose flour
- 1 cup granulated sugar
- 1 1/2 cups unsalted butter, softened
Instructions:
- Preheat your oven to 375°F (190°C) and lightly grease your shortbread mold.
- In a large bowl, cream together the butter and sugar until creamy.
- Add the flour gradually and mix until the dough comes together.
- Press the dough into the mold, making sure to fill all the intricate details.
- Bake for 12-15 minutes or until the edges are lightly golden.
- Allow the cookies to cool in the mold for a few minutes before carefully removing them.
How to prepare:
Prepare to be transported to a world of nostalgia with these retired Brown Bag Cookie Art cookie molds. These classic designs will bring back fond memories of baking with loved ones. Follow the instructions above to recreate these charming cookies that will surely put a smile on anyone’s face.
Preparation time: Approximately 35 minutes (includes baking and cooling time)
Brown Bag Cookie Art Hill Design Gingerbread Boy and Girl Recipe Book

Ingredients:
- 3 cups all-purpose flour
- 1 1/2 teaspoons ground ginger
- 1/2 teaspoon ground cinnamon
- 1/4 teaspoon ground cloves
- 1/4 teaspoon baking soda
- 1/4 teaspoon salt
- 1/2 cup unsalted butter, softened
- 1/2 cup granulated sugar
- 1/2 cup molasses
- 1 large egg
- 1/2 teaspoon vanilla extract
Instructions:
- Preheat your oven to 350°F (175°C) and line a cookie sheet with parchment paper.
- In a medium bowl, whisk together the flour, ginger, cinnamon, cloves, baking soda, and salt. Set aside.
- In a large bowl, cream together the butter and sugar until light and fluffy.
- Add the molasses, egg, and vanilla extract, and mix until well combined.
- Gradually add the dry ingredients to the wet ingredients and mix until a soft dough forms.
- Shape the dough into a disk, wrap it in plastic wrap, and refrigerate for at least 1 hour.
- Roll out the dough on a floured surface to approximately 1/4 inch thickness.
- Use the gingerbread molds to cut out boy and girl shapes, then transfer them to the prepared cookie sheet.
- Bake for 10-12 minutes or until the edges are lightly golden.
- Allow the cookies to cool on the cookie sheet for a few minutes before transferring them to a wire rack to cool completely.
How to prepare:
These adorable gingerbread cookies will steal the show at any holiday gathering or cookie exchange. Follow the instructions above to create a batch of perfectly spiced and beautifully shaped cookies that will delight both kids and adults alike. Brace yourself for a comforting and flavorful experience!
Preparation time: Approximately 2 hours (includes chilling and baking time)
Brown Bag Cookie Stamp Beehive Bear No. 1 Cute 1995 Cookie Art

Ingredients:
- 2 1/2 cups all-purpose flour
- 1/2 cup granulated sugar
- 1/2 teaspoon baking powder
- 1/4 teaspoon salt
- 1 cup unsalted butter, softened
- 1 large egg
- 1 teaspoon vanilla extract
Instructions:
- Preheat your oven to 375°F (190°C) and line a baking sheet with parchment paper.
- In a medium bowl, whisk together the flour, sugar, baking powder, and salt. Set aside.
- In a large bowl, cream together the butter, egg, and vanilla extract until well combined.
- Add the dry ingredients to the wet ingredients and mix until a soft dough forms.
- Shape the dough into small balls and place them on the prepared baking sheet.
- Press the cookie stamp firmly onto each dough ball to create the beehive bear design.
- Bake for 10-12 minutes or until the edges are lightly golden.
- Allow the cookies to cool on the baking sheet for a few minutes before transferring them to a wire rack to cool completely.
How to prepare:
Bring the cuteness factor to your cookie game with these adorable beehive bear cookies! The cookie stamp makes it super easy to create the charming design, and the recipe guarantees a buttery and delicious treat. Follow the instructions above and get ready to impress your friends and family with your baking skills!
Preparation time: Approximately 35 minutes (includes baking and cooling time)
Phew! That was a long but delightful journey through the world of shortbread cookie molds. We hope you found these creative and tasty recipes inspiring. Whether you’re a seasoned baker or just starting out, these molds will surely add a touch of magic to your baking adventures. So go ahead, embrace your inner cookie artist, and let the fun begin!