Making homemade baby food is a wonderful way to ensure that your little one is getting the most nutritious and delicious meals possible. With the right recipes and a step-by-step guide, you can easily prepare stage 1, 2, and 3 baby food right in your own kitchen. Take a look at some of these amazing recipes that are both easy and mouthwatering.
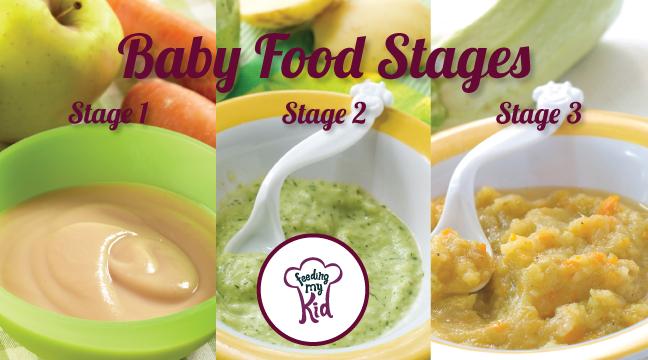
Stage 1 Homemade Baby Food Recipes
Stage 1 baby food is for little ones who are just starting their journey into solid foods, usually around 4 to 6 months old. Here are some simple recipes to get you started:
 ### Ingredients:
- 1 cup of steamed and pureed carrots
- 1/2 cup of cooked and mashed sweet potatoes
- 1 ripe mashed banana
- 1/4 cup of breast milk or formula (optional)
Instructions:
- In a bowl, combine all the ingredients.
- Mix well until you get a smooth puree.
- Store in an airtight container and refrigerate for up to 3 days.
This stage 1 baby food recipe is a perfect introduction to solid foods. Carrots and sweet potatoes are packed with essential nutrients like vitamin A and fiber, while the ripe banana adds a naturally sweet flavor.
Stage 2 Homemade Baby Food Recipes
Once your baby is comfortably eating stage 1 baby food, usually around 6 to 8 months old, you can move on to stage 2. These recipes introduce new flavors and textures to expand your baby’s palate. Here’s a delicious recipe to try:
 ### Ingredients:
- 1 cup of cooked and pureed butternut squash
- 1/2 cup of cooked and pureed peas
- 1/4 cup of cooked and pureed quinoa
- 1/4 cup of breast milk or formula (optional)
Instructions:
- In a bowl, combine all the ingredients.
- Mix well until you achieve a smooth consistency.
- Transfer to a storage container and refrigerate for up to 3 days.
This stage 2 baby food recipe combines the creamy sweetness of butternut squash with the vibrant green goodness of peas. The addition of quinoa adds protein and a gentle texture for your growing baby to explore.
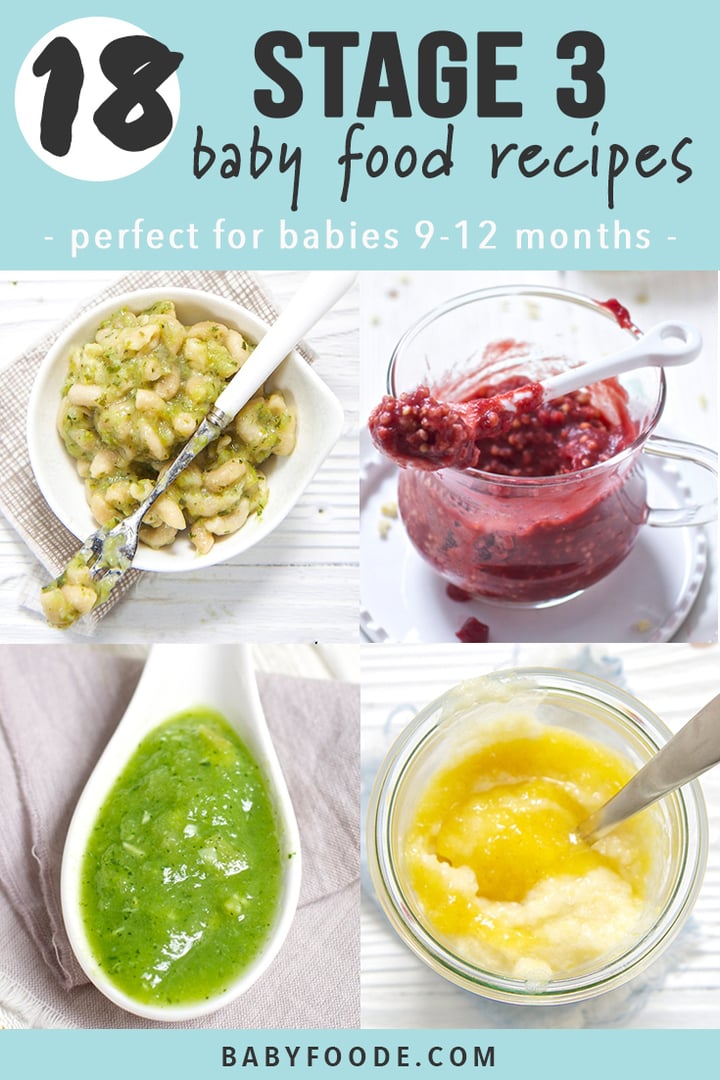
Stage 3 Homemade Baby Food Recipes
As your baby gets older, around 9 to 12 months old, they will be ready for stage 3 baby food. These recipes incorporate a wider variety of ingredients and textures to further develop your baby’s taste buds. Here’s a tasty recipe to try:
 ### Ingredients:
- 1 cup of cooked and chopped chicken breast
- 1/2 cup of quinoa or rice
- 1/2 cup of cooked and pureed spinach
- 1/4 cup of cooked and pureed carrots
Instructions:
- Cook the chicken breast and quinoa or rice separately.
- In a blender or food processor, puree the spinach and carrots.
- In a mixing bowl, combine the cooked and chopped chicken, cooked quinoa or rice, and the pureed spinach and carrots. Mix well.
- Transfer to storage containers and refrigerate for up to 3 days or freeze for longer storage.
This stage 3 baby food recipe is packed with protein from the chicken and whole grains from the quinoa or rice. The addition of spinach and carrots provides essential vitamins and minerals. This balanced meal will keep your growing baby satisfied and nourished.
How to Prepare Homemade Baby Food
Preparing homemade baby food is easier than you might think. Here’s a step-by-step guide to help you get started:
- Wash your hands and clean all the tools and equipment you will be using.
- Choose fresh, organic produce whenever possible.
- Peel and chop the fruits and vegetables into small, manageable pieces.
- Steam or cook the fruits and vegetables until they are soft and tender.
- Use a blender or food processor to puree the cooked ingredients, adding breast milk or formula for a smoother consistency if desired.
- Transfer the baby food into storage containers or ice cube trays for convenience.
- Label and date the containers and freeze them if you plan to store the baby food for longer durations.
- Thaw frozen baby food in the refrigerator or warm it up using a microwave or stovetop.
- Test the temperature of the baby food before serving it to your little one.
Making homemade baby food allows you to have complete control over the ingredients and ensures that your baby is eating fresh and wholesome meals. Plus, it’s a rewarding experience to see your little one enjoy the fruits of your labor. With these recipes and guide, you’ll be well-equipped to provide nutritious meals for your baby at every stage of their development.
Preparation Time
The preparation time for these homemade baby food recipes will vary depending on the specific ingredients and cooking methods you choose. However, most stage 1, 2, and 3 baby food recipes can be prepared in around 30 minutes or less. It’s always a good idea to plan ahead, set aside dedicated time for preparing the baby food, and ensure that you have all the necessary ingredients on hand.
Servings
The number of servings you’ll get from each homemade baby food recipe will depend on the portion size you serve your baby. As a general guideline, you can expect to get around 4 to 6 servings from each recipe. It’s important to remember that every baby is different, and their appetite may vary. Always observe your baby’s hunger cues and adjust the portion size accordingly.
Nutrition Facts
When it comes to homemade baby food, nutrition is key. While it’s difficult to provide exact nutrition facts for each recipe without specific measurements, you can rest assured that the ingredients used in these recipes are packed with vital nutrients for your growing baby. From vitamins and minerals to proteins and healthy fats, these homemade baby food recipes offer a well-balanced diet to support your baby’s development.
Tips for Making Homemade Baby Food
Here are some helpful tips to keep in mind when making homemade baby food:
- Choose fresh and organic ingredients whenever possible to minimize exposure to pesticides and chemicals.
- Introduce new foods one at a time and wait for a few days before introducing another to check for any potential allergies or sensitivities.
- Invest in a good quality blender or food processor to ensure smooth and consistent purees.
- Get creative with flavors and textures by combining different fruits, vegetables, and grains.
- Experiment with herbs and spices to introduce your baby to a wide range of flavors.
- Consider making larger batches and freezing individual servings for convenience.
- Always follow safety guidelines for storing and reheating baby food.
FAQs
Q: Can I use frozen fruits and vegetables for homemade baby food?
A: Yes, you can use frozen fruits and vegetables for homemade baby food. Just make sure to thaw them before cooking or pureeing.
Q: When can I introduce meat to my baby’s diet?
A: You can introduce meat to your baby’s diet around 8 to 10 months old. Start with well-cooked and pureed meats and gradually increase the texture as your baby gets older.
Q: Can I add spices and herbs to homemade baby food?
A: Yes, you can add mild spices and herbs to homemade baby food to introduce your baby to new flavors. Just avoid using salt, sugar, and strong spices like chili powder or cayenne pepper.
Q: Can I use breast milk or formula to thin out baby food?
A: Yes, you can use breast milk or formula to thin out baby food and create a smoother consistency. This is especially helpful for stage 1 baby food.
Making homemade baby food is a wonderful way to nourish your baby and introduce them to a variety of flavors and textures. These stage 1, 2, and 3 baby food recipes provide a solid foundation for your baby’s culinary journey. Enjoy the process of preparing homemade meals for your little one and watch them thrive on these nutritious delights.